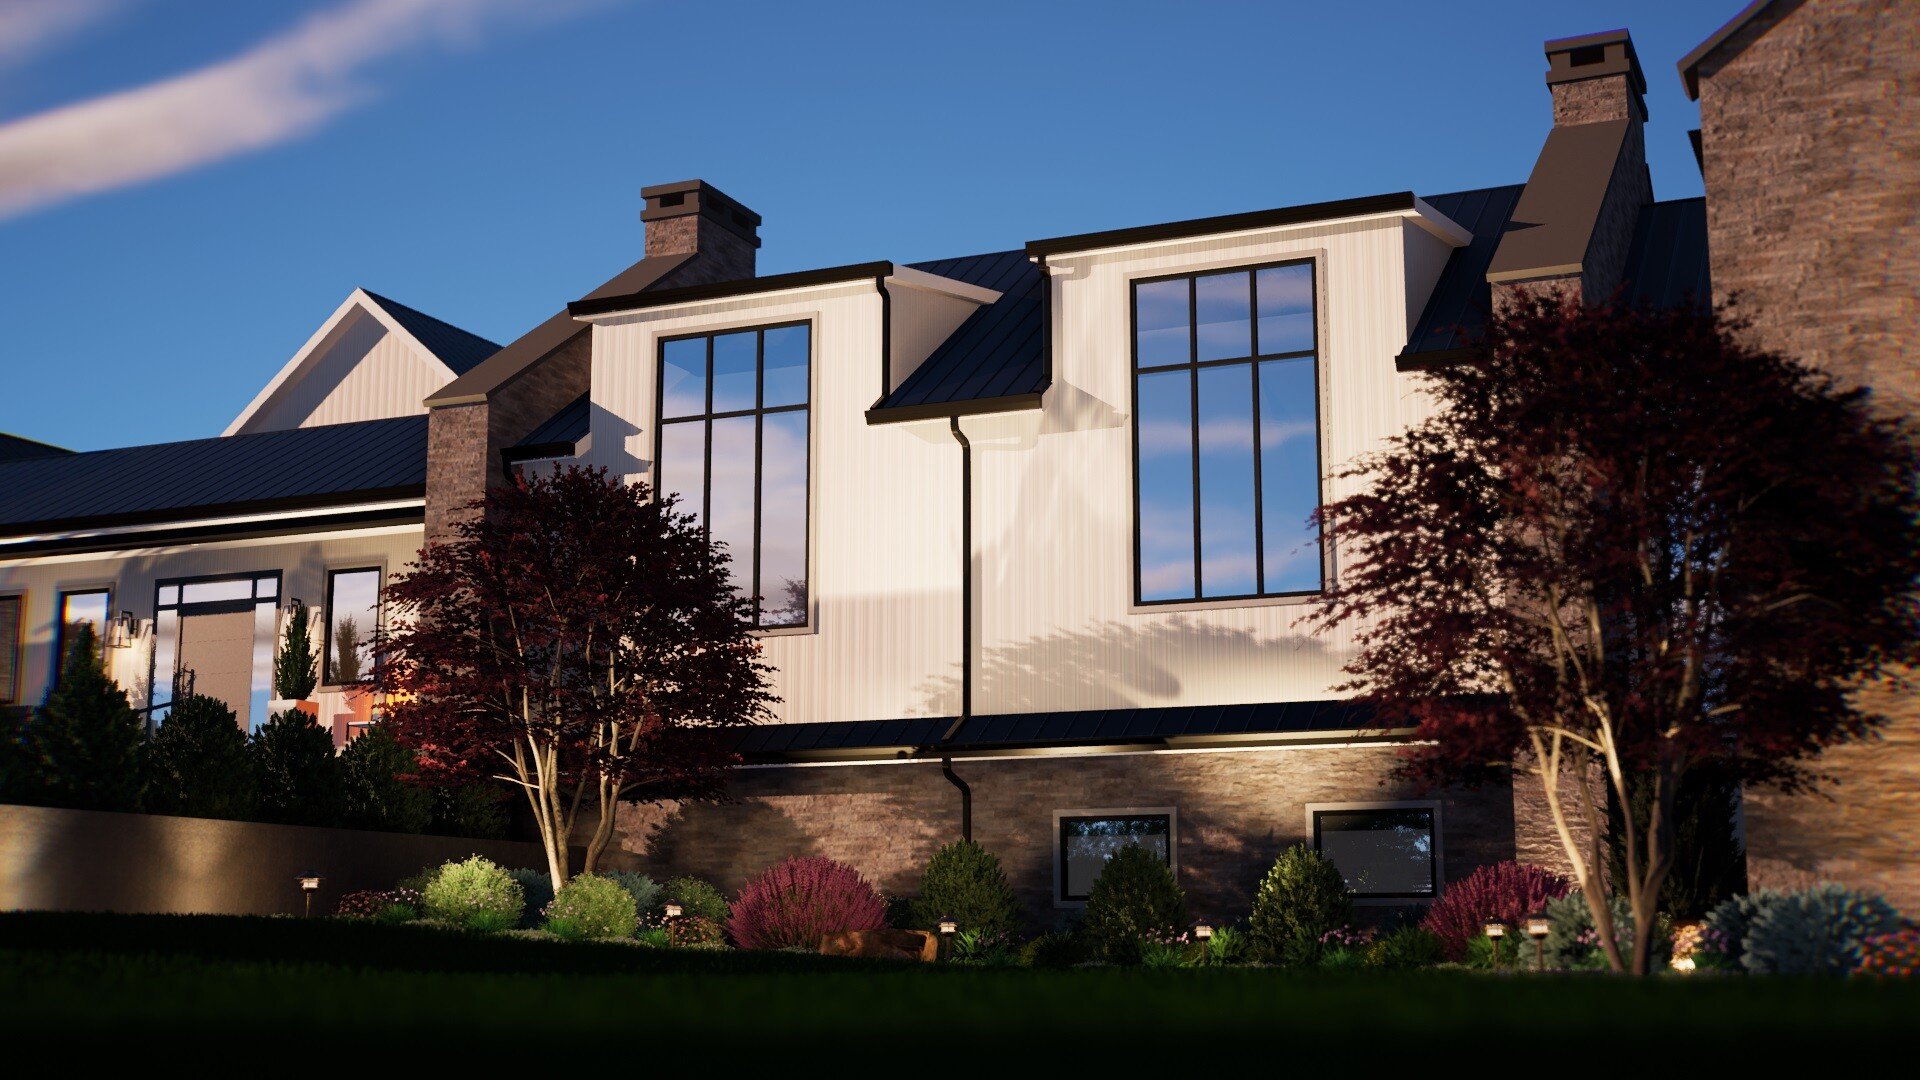
Creating interactive presentations for your clients just got easier.
When you use Vip3D to create interactive 360-degree screenshots, images, and videos — you’ll be able to share with your clients the easiest, most engaging new way to explore every detail of their future outdoor living space.
All it takes is one quick press of the button in Vip3D’s Presentation Stage — then just use the mouse on your PC, or the screen on your tablet or smartphone, to let your clients explore your design in any direction.
How to Create a 360-Degree View
Taking a 360 Photo and recording a 360 Video is easy — it really just takes one click of the button!
Create a 360-Degree Photo:
Go to Stage 14: Create Presentation in Vip3D. Then, click on the Photo Mode button.
You can adjust the 3D view to get the perfect angle, or use an existing camera location. Existing locations as well as new camera locations can be used to create both standard photos and 360 Photos.
Once you have selected the angle that you like best, you’re ready to create your 360 Photo. Simply toggle the 360 Photo button on and click Take Photo (or press P). That’s it!
_Photos/2017/360%20photo%20and%20video/how-to-01.jpg)
The software does all the work of creating the 360-degree view for you. Even though you’re facing a single direction when taking the photo, you’ll be able to look around the camera location in 360 degrees.
Please note: artistic image effects and Text Effects — like those we see here — won’t be visible in your 360 Photos and Videos. Turning on 360 mode will temporarily disable these features, and they will immediately return once 360 is turned off.
Create a 360-Degree Video:
Go to Stage 14: Create Presentation in Vip3D. Then, instead of clicking Photo Mode, click on the Video Mode button.
You can create new camera locations, the same way you can to create a 360 Photo, or you can simply turn on the 360 Mode and render your existing storyboard as a 360 Video.
Please note: creating 360 Videos will take significantly longer to render than standard videos. This is because the video is being recorded in all directions, instead of just one. (Faster computer processors will render videos faster.)
How to Access 360 Photos and Videos
_Photos/2017/360%20photo%20and%20video/360-photo.jpg)
Your 360 Photos and Videos will be found with standard photos and videos in the current project folder, as well as in the media viewer. So that they are easy to identify, they are automatically named with 360 in the title.
How to View 360 Photos and Videos
_Photos/2017/360%20photo%20and%20video/videos.jpg)
Viewing 360 Photos and Videos on a standard computer image or video viewer can make them appear stretched out. 360 Videos are best when viewed on YouTube, Facebook, and Vimeo. Facebook is the only good way to view 360 Photos.
Good and Bad of 360 Viewers:
Facebook:
Good: Easy for you to share, easy for your customers to share. Great controls for video. Can add custom text to videos (like your company name, or points of interest).
Bad: Does not support Google Cardboard.
Youtube:
Good: Very easy to share. Lots of support on the web.
Bad: Can't add custom overlay text. Doesn't support 360 images.
Vimeo:
Good: Works great with the Vimeo App on your smartphone.
Bad: Your customer doesn't have the Vimeo App on their smartphone. There is no support for Google Cardboard, or 360 Images.
The most compelling way: View 360 Photos and Videos with your smartphone or tablet. It's like looking through a window into your client’s future project! As you move the device around, the view automatically changes, creating an incredible interactive experience.
Once you’ve uploaded your 360 Photo to Facebook, it’s ready for you to share with your client — and it’s easy to share directly on Facebook! Here's an example:
The 360 Video is just as easy to explore — just left click and look around in any direction. Pause the video, and continue to adjust your chosen view. You can create a walkthrough of your project, and then your client can rewind or fast forward, easily pausing at their favorite features and adjusting their view with the mouse.
How To: Make 360 Videos Extra Awesome
_Photos/2017/360%20photo%20and%20video/cardboard.jpg)
With devices like the Gear VR, Google Cardboard, and Google DayDream — you can even view your 360 Videos in Virtual Reality! Simply upload your 360 Degree video to YouTube, and tap The Google Cardboard Icon ![]() The view will now feel more lifelike as your client explores their future property in a 360 degree video.
The view will now feel more lifelike as your client explores their future property in a 360 degree video.
_Photos/2017/360%20photo%20and%20video/google-cardboard.jpg)
Ready to Create Your Own 360 Photos and Videos?
Try it yourself today, or go to the next level and explore in Virtual Reality — and you'll share with clients the best, most engaging, and most spectacular new way to see their future.


_Photos/2017/360%20photo%20and%20video/header.jpg)

 April 6, 2017


Comments