Every week, we offer training workshops designed to help you create your best work. From the fundamentals to the most advanced strategies, our workshops cover everything you need to know to create the most impressive — and the most client-amazing — 3D designs.
In case you haven’t had a chance yet to join a training workshop (or you’d just like a refresher) — we don’t want you to miss out.
Many of your fellow pool and landscape designers who attend our training say these are our top tips: the best timesavers, the greatest shortcuts, and the most impressive ways to create the most impressive designs.
Ready to enhance your design process? Read on to discover the Top 5 Most Popular Vip3D, Pool Studio, and VizTerra Tips:
Tip 1: Use GIS and Images, Including Plot Plans and Blueprints
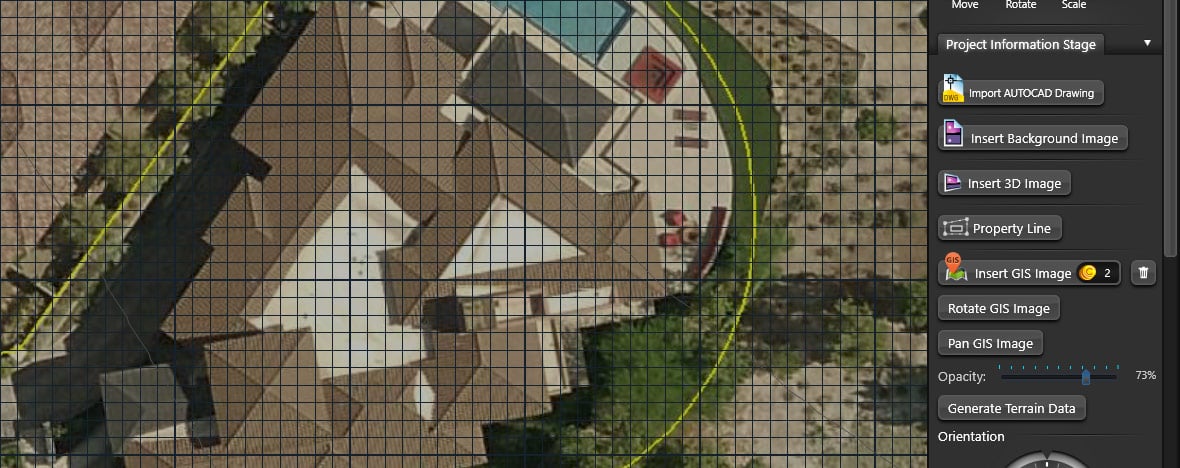
One of the best ways to gather the information you need to design a project quickly and accurately — before stepping foot onto the property! — is to take advantage of ultra-high-resolution GIS images.
The Geographic Information System (GIS) offers you not just incredibly detailed high resolution aerial imagery but also surveyed terrain data of your client’s property. (Available only in the United States and Canada.)
These useful images are easy to add to projects:
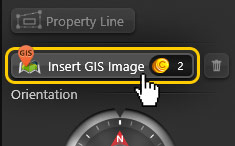
In Stage 1: Project Information, simply click on the “Insert GIS Image” button and type in the property address. The aerial images will be inserted directly into your project. This allows you to automatically generate 3D terrain, trace existing structures, and calculate access.
Want to see just how easy GIS images are to use? Check out the video tutorial: GIS: Aerial Imagery
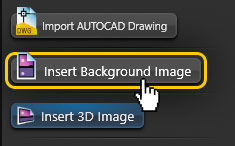
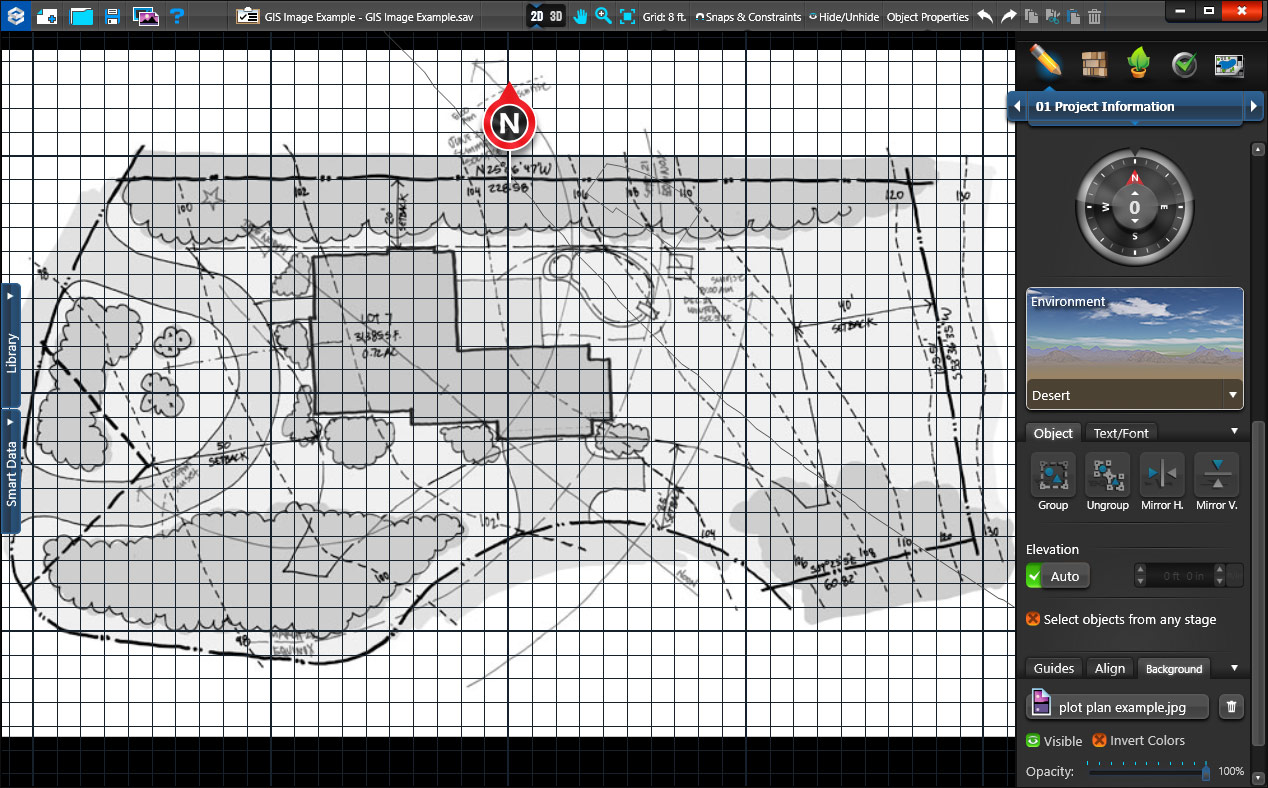
With the Background Image feature in Vip3D, Pool Studio, and VizTerra, you can also use plot plans and blueprints in your designs.
Any graphic file in the .bmp, .jpg, .png, .tga, or .tif file format can be used as a background, including printouts, sketches, and blueprints. Then, for example, you can trace existing structures and hardscapes from a plot plan of your project.
In Stage 1: Project Information, simply click the "Insert Background Image" button and select the graphic file from your computer.
For more information, see Background Image or register for an upcoming landscape Tips and Tricks Training!
Tip 2: Put Your Keyboard to Work with Hotkeys

Vip3D, Pool Studio, and VizTerra offer hotkeys that make it easy for you to use your keyboard to quickly navigate through the program and activate different functions and tools.
One of the most popular hotkey takes you quickly from 2D to 3D (and from 3D to 2D!): just hold down the CTRL Key plus the Tab Key.
If you want to quickly navigate between Stages, simply hold down the CTRL Key and press the stage number (CTRL + 3, for example, takes you to Walls, Fences, and Railing).
Using hotkeys is a great way to move through your designs quickly. To make them even easier for you to use, we’ve put together for you a quick one-page guide to all of the hotkeys: click HERE to check it out!
Tip 3: Group and Ungroup by Exploding and Welding
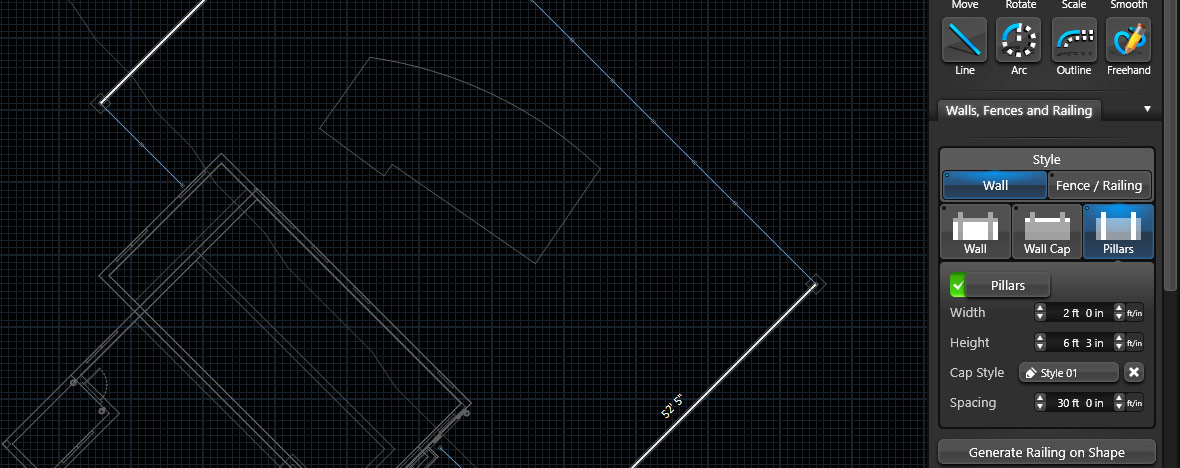
Exploding and welding complete objects is an easy way to make your designs precise and accurate.
Exploding allows you to “ungroup” complete objects so that they are separate and independent lines and/or arc segments.
A common example of exploding is in Stage 3: Walls, Fences, and Railing:
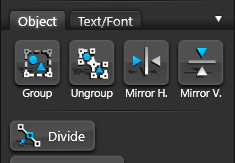
If you draw all the segments for the property line, some segments might need to be defined as a wall and others as a fence. Simply select the property line and click on the “Ungroup” button, found in the Object tab of the Panel Menu or CTRL + U. This will explode the connecting segments, allowing you to define each segment as either a wall or a fence.
Welding works similarly: you can use it to “group” incomplete lines and/or arc segments that are drawn in the same stage. When welded, they will create a complete object that can then be viewed in 3D.
This is an especially useful trick since all “Design” stages (except for Stage 3: Walls, Fences, and Railing) require that objects be complete shapes. To make certain your objects are complete shapes, simply select all the incomplete segments that you want for your shape and click on the “Group” button, found in the Object tab of the Panel Menu or CTRL + G.
Tip 4: Import Materials
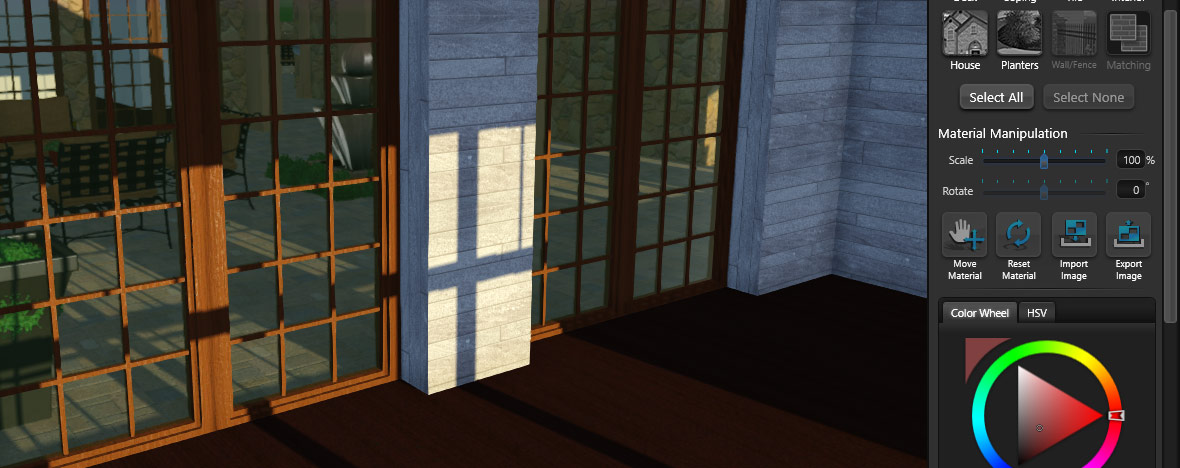
If you want even more material options than those included in Vip3D, Pool Studio, and VizTerra, you can create your own custom materials in the Materials Phase by importing graphic files.
It's a great way to create the perfect materials for your client’s needs. Plus, you can easily save your custom materials to your library to use in future projects.
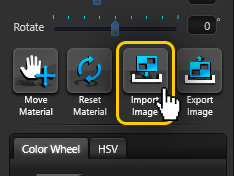
To create your own custom materials, click the Import button found on the Material Manipulation section of the Panel Menu and import your chosen graphic file in the .bmp, .jpg, .png, .tga, or .tif format.
You can import exactly the materials you need, including tile, concrete, and paver patterns as well as brick and stucco surfaces. You can even import photographs!
The graphic you import will automatically tile across the selected surface. To adjust it, use the Scale, Rotate, and Pan tools located under Material Manipulation in the Materials Library.
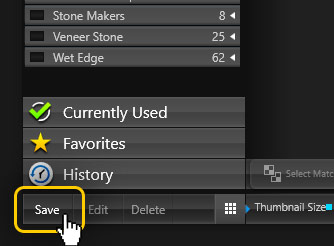
Once you’ve imported your graphic, save it to your material library by clicking the Save button under the Material Library List View. If you don’t save it to your library, then it will only be available to you in the project you imported it in.
To learn more about importing custom materials, check out the Customize Materials Guide or register for an upcoming Tips and Tricks Training!
Tip 5: Customize Projects with the Colorwheel
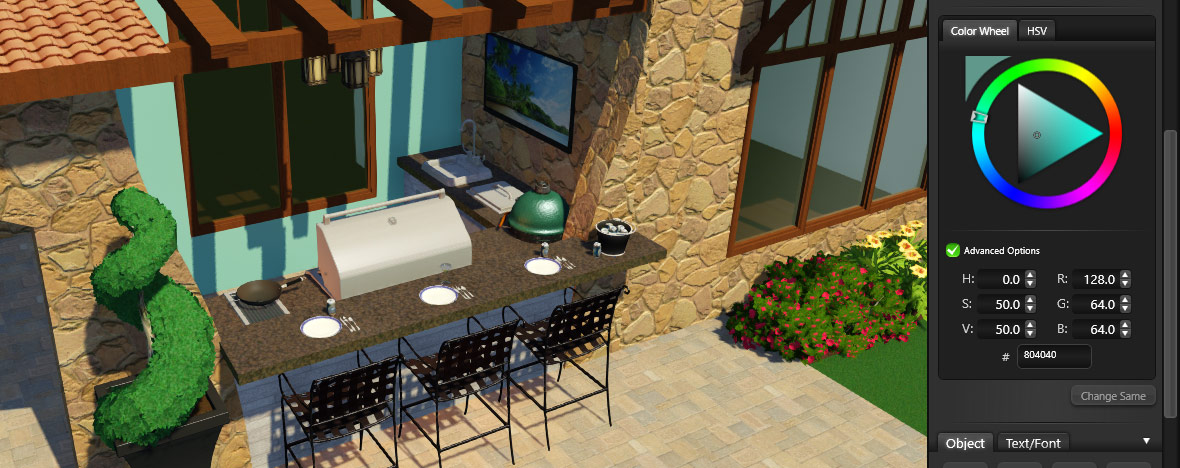
Personalizing your design for your client is easy when you use the Colorwheel to pick exactly the right custom options.
Custom materials can be created in the Materials Phase — simply use the Customize Materials controls located in the Material Manipulation section of the Panel Menu.
Once you’re ready to select a custom color, select a surface in your design that you wish to edit. The controls will let you edit the material applied to that surface; they will not change the material in the library. If you want to save your changes to the library, you can save your selections as a new material.
This is a great way to create multiple versions of an existing material in different colors.
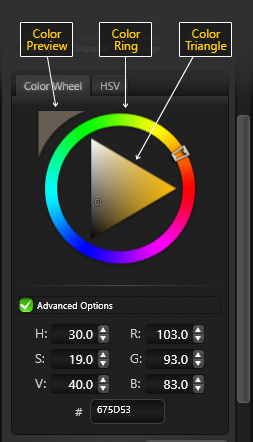
Color Ring: With the outer Color Ring, you can change the base color of a selected material applied to a surface in your design. Simply left click directly on a color in the ring.
Color Triangle: The inner Color Triangle makes it easy to adjust the saturation and intensity of the color of a selected material applied to a surface in your design. It’s a great way to fine tune a color to perfectly match your project requirements. Just left click directly on a color in the triangle.
Color Preview: A preview of the custom color appears in the upper preview triangle to the left of the Color Ring. Each time you left click on the Color Ring or the Color Triangle, the preview will update.
Advanced Options: This box allows you to fine tune the selected color by adjusting the HSV (Hue, Saturation, Value) and RGB (Red, Green, Blue) values.
Each color has a code, known as a Hexadecimal color code (HEX). When a material is selected you can see its code (such as #123456) below the HSV and RGB values. To insert your own color code, just type it into the field or copy and paste the code from another customized material. (Looking for a specific color? A great website to research HEX codes is www.colorpicker.com.)
Ready for more shortcuts?
The Top 5 are just the beginning — in our Vip3D, Pool Studio, and VizTerra training videos and workshops, we share even more tips that will help you get more done in less time.
Join an upcoming workshop to see how these shortcuts — and more! — can enhance your design process. You can sign up anytime: just login, pick the class that fits your schedule, and get ready to discover all of the tips, tricks, and strategies that will help you create your very best designs.
If you need help with any of these tips and tricks, please give our team a call at 800-778-8996.


 May 18, 2017




Comments